

Your holiday launch date is on the calendar, but the packaging decisions are still open. Marketing wants a gift-ready box, operations needs something that packs quickly, and purchasing doesn't want seasonal stock sitting in the warehouse after December. Meanwhile, someone has suggested foil, a ribbon and personalised messages without checking whether they'll fit the budget or the packing line.
Customised holiday packaging works best as a system, not a collection of festive extras. Start with the product and distribution route, add a removable seasonal identity, then use approval gates to control what reaches production. That gives everyone a shared path from the first format decision to delivered stock.
Table of Contents
- Holiday Packaging Formats Compared by Use
- Building a Seasonal Visual System That Outlasts December
- Matching Materials to Product, Mass and Disposal Rules
- Components, Finishes and Testing Before Tooling
- Planning Production From Approved Artwork to Stock
- Personalisation, Forecasts and Leftover Stock
- Prepare Your Holiday Packaging Brief Before Design Starts
Holiday Packaging Formats Compared by Use
| Format | Best use | Customisation room | Recycling note |
|---|---|---|---|
| Folding carton | Gift sets and single bottles | Full colour, foil, embossing and a small window | Check local paperboard acceptance; plastic windows and laminates complicate separation |
| Rigid box | Premium keepsake and multi-item gift packs | Foil, magnetic closures, inserts and printed sleeves | Heavier and often mixed-material; separate closures and inserts where possible |
| Flexible pouch | Consumables and bulk holiday runs | Full-bleed print, window, zip or tear notch | Check the laminate construction and local collection for flexible plastics |
| Sleeve | Refreshing a standard pack for a season | Printed panels and graphics that are easy to swap | A light, single-material sleeve is straightforward to separate; confirm local acceptance |
| Gift bag | Quick-change seasonal retail runs | Handles, tissue and printed panels | Check paper-bag acceptance and remove incompatible handles, ribbons and decorations |
| Tube or tin | Small limited-edition runs | Lid graphics, embossing and labels | Check local metal or composite-tube collection; mixed closures need separate consideration |
Choose the format around the product's weight, shape and shipping route. A folding carton that presents a bottle neatly on a shelf may still need a protective shipper. A rigid keepsake box can provide a substantial opening experience, but its inserts, storage footprint and assembly work need to earn their place.
For consumables, assess how the customer opens, dispenses and stores the contents. Our stand-up pouch guide is useful when comparing flexible packaging with cartons, particularly when resealing and shelf presentation matter.
Separate appearance from protection
Mockups help you compare panel layouts before committing to a structure. For a visual starting point, browse gift box mockups from Simon Stratford to explore how artwork reads across folds, lids and different viewing angles. Treat those images as presentation tools, not evidence that a pack will survive distribution.
Run these checks before shortlisting formats:
- Closure: Does the product need a secure seal, a reclosable opening or a simple presentation lid? Keep any product-specific safety requirements separate from the decorative closure.
- Shipping route: Will customers carry it from a shop, or will it travel through parcel delivery? Establish whether it ships alone or inside a protective outer carton.
- After-season use: Should the container remain useful once the holiday graphics come off? Consider whether the customer can open it without destroying its main structure.
Selection rule: Let the product determine the structure. Let the structure determine where the festive decoration belongs.
Shortlist a primary format and a credible alternative. Record why each suits the product, rather than choosing solely from a render. That keeps the visual design grounded in something the team can fill, close, store and ship.
Building a Seasonal Visual System That Outlasts December
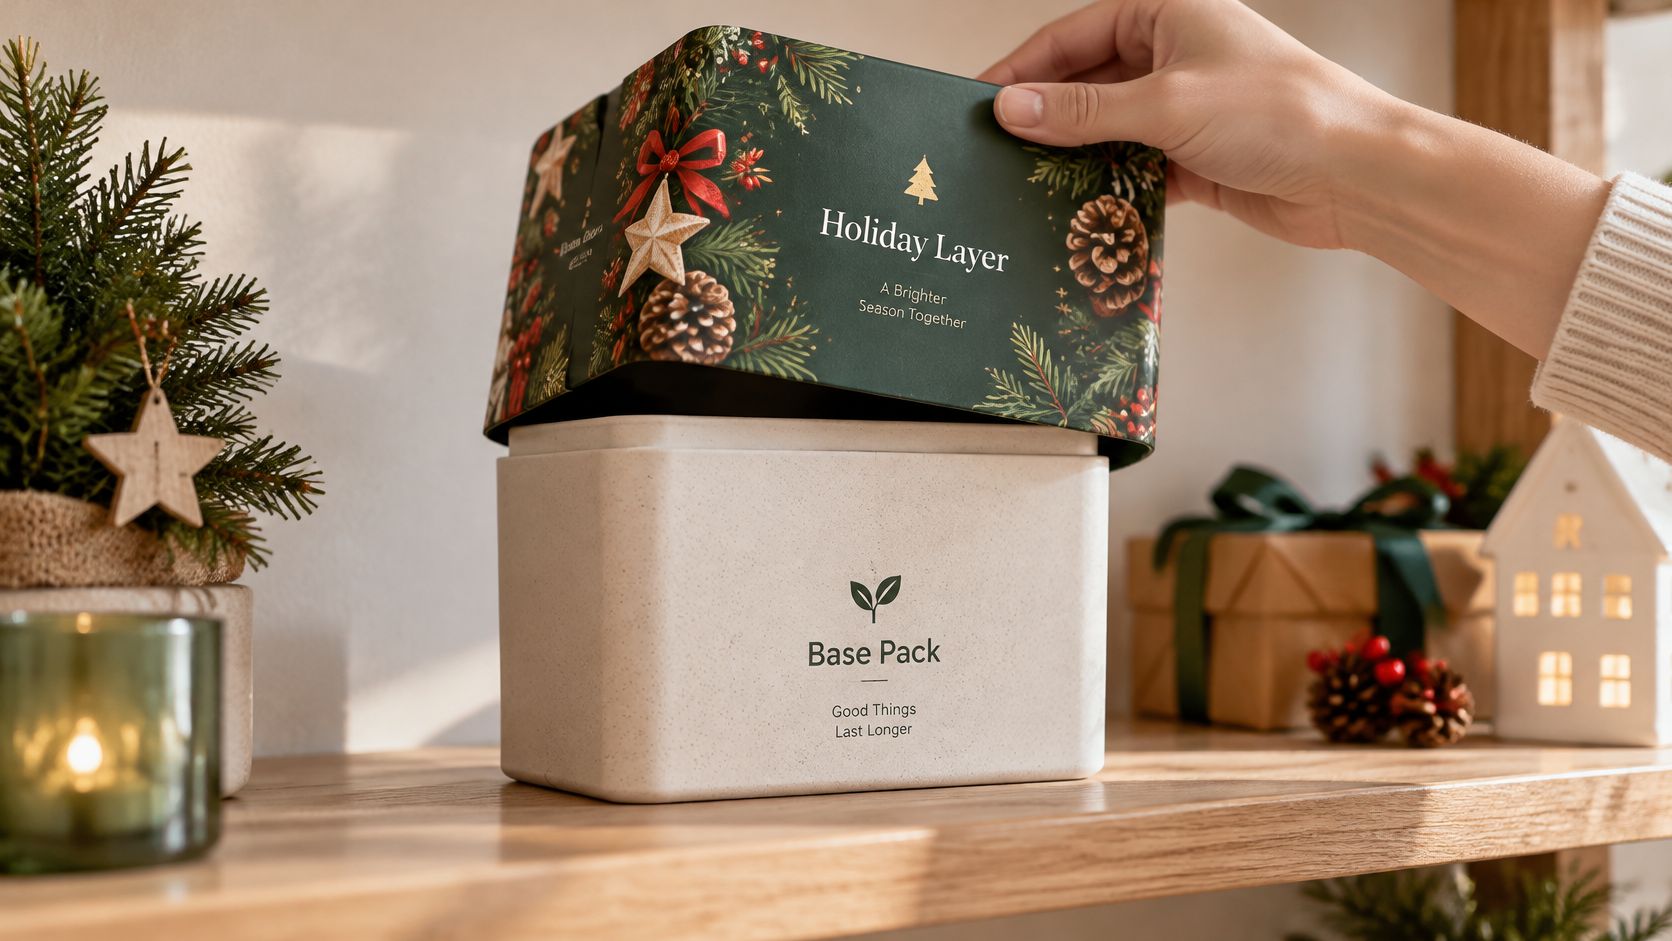
Think of the base pack as the body and the holiday layer as its costume. The body stays recognisable throughout the year; the costume creates the occasion. Design the costume to come off, rather than permanently rebuilding the entire pack around a seasonal message.
That distinction starts with brand versus visual identity. Your positioning and product promise shouldn't change because the calendar does, even when colours, patterns and presentation become more festive. A packaging branding project can connect visual identity, artwork systems and applications across a product range rather than treating every carton as an isolated design.
Build the identity in a controlled sequence
Lock the brand core. Approve the wordmark, everyday palette and typography before developing festive artwork. Product identity must remain recognisable when the seasonal layer is absent.
Define the seasonal kit. Choose a coordinated colour set, pattern and hero graphic. Give each a job, such as distinguishing the holiday range or creating a gift-ready focal point.
Place the layer deliberately. A sleeve can surround a standard carton, a label can suit a single-product run, and a lid band can dress a tube or tin. Check how customers remove it and whether adhesive damages the surface underneath.
Write a variant rule. Keep the graphic position consistent while changing an approved identifier, such as a flavour name or accent colour. Don't commission unrelated artwork for every product.
Test the awkward cases. Apply the design to the smallest format and longest product name. Reduce decorative detail before reducing the legibility of information customers need.
The reason to preserve the gifting signal is straightforward: 98% of consumers wrap gifts during the holiday season, according to research described by Hallmark. Your seasonal layer can acknowledge that ritual without requiring a completely different container.
Check whether the system can return
Say a supplement brand uses an everyday white carton with a green holiday sleeve. The sleeve carries the seasonal pattern, while the carton retains the product name and approved information.
The reuse test is simple: can the team refresh the seasonal colours next year without redrawing the base pack? If so, you've protected the core artwork investment while leaving room for a visibly different campaign.
Matching Materials to Product, Mass and Disposal Rules
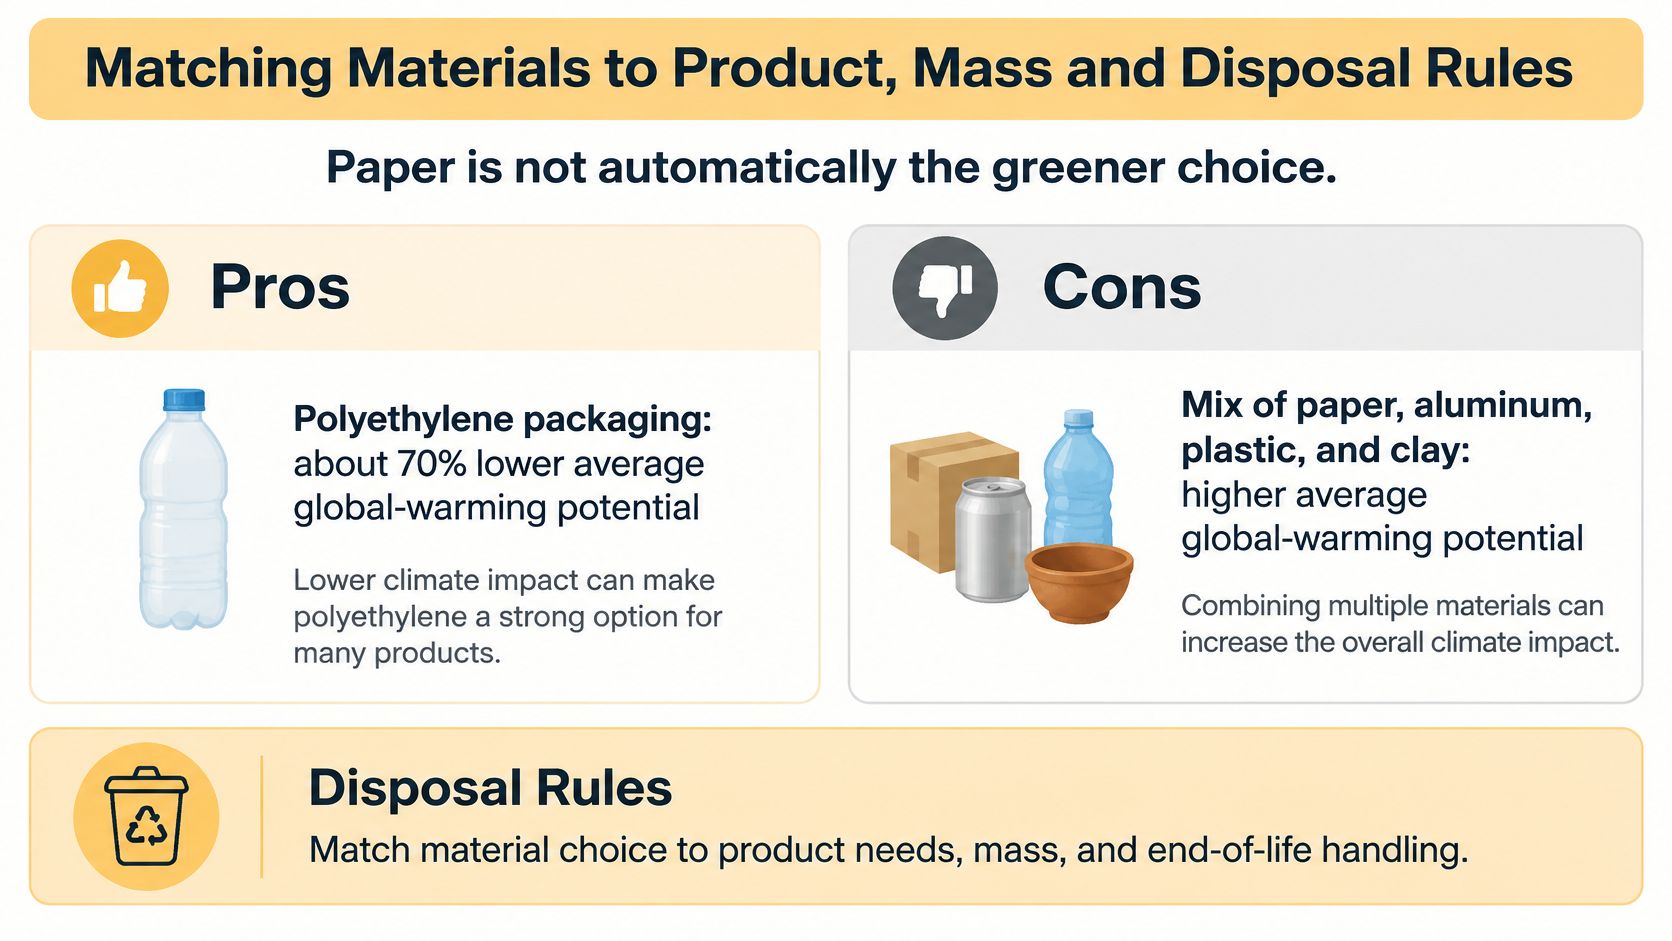
Paper isn't automatically the greener choice. A U.S. life-cycle comparison covering several packaging applications found that polyethylene packaging had approximately 70% lower average global-warming potential than a mix of commonly used alternatives, as described by Michigan State University.
That finding isn't permission to replace every holiday carton with polyethylene. The applications assessed included films, sacks, bottles and pouches, not every possible gift-pack structure. The useful lesson is to compare equivalent protective performance instead of judging environmental impact by appearance.
Specify function before a material preference
Start with the lightest construction that can meet the product's drop, seal, moisture and shelf-life needs. Then validate the choice through a product-specific assessment that accounts for material mass, recycled content, decoration, transport and disposal.
For structural design, we ask for product measurements, weight and samples where available. Measure the actual filled product, including projecting caps, uneven seams or protective wrapping. Nominal dimensions alone won't explain why a closure catches or an insert compresses the contents.
Compare the practical roles of the candidate materials:
- Paperboard: Useful for printable cartons and sleeves, with board grade and coatings selected around stiffness and exposure.
- Flexible PE: A candidate where low mass, sealing and moisture protection are central requirements.
- Rigid plastic: Worth evaluating where shape retention and repeated closure are important.
- Metal: Suitable for protective or reusable containers when its mass and production requirements are justified.
- Hybrid structures: Reserve combinations for functions a simpler construction can't achieve.
Design for the collection system customers actually use
Holiday disposal happens under pressure. Packaging-industry reporting cites approximately 25% more holiday waste in the United States and 30% more in the United Kingdom, according to Packaging Insights. A 2025 UK survey found that 82% of respondents dealt with extra Christmas waste and 20% were confused by holiday collection dates, as reported in the Christmas recycling survey release.
A technically recyclable structure still needs an accepted collection route. Confirm that route in each target market, and write concise separation instructions rather than relying on an unqualified recyclable symbol.
Avoid nonessential laminates, metallic films and incompatible coatings unless they provide measurable protection or a credible reuse function. Our overview of sustainable packaging considerations for consumer-facing brands provides broader context, but the final decision belongs at the level of the actual product, construction and disposal system.
Components, Finishes and Testing Before Tooling
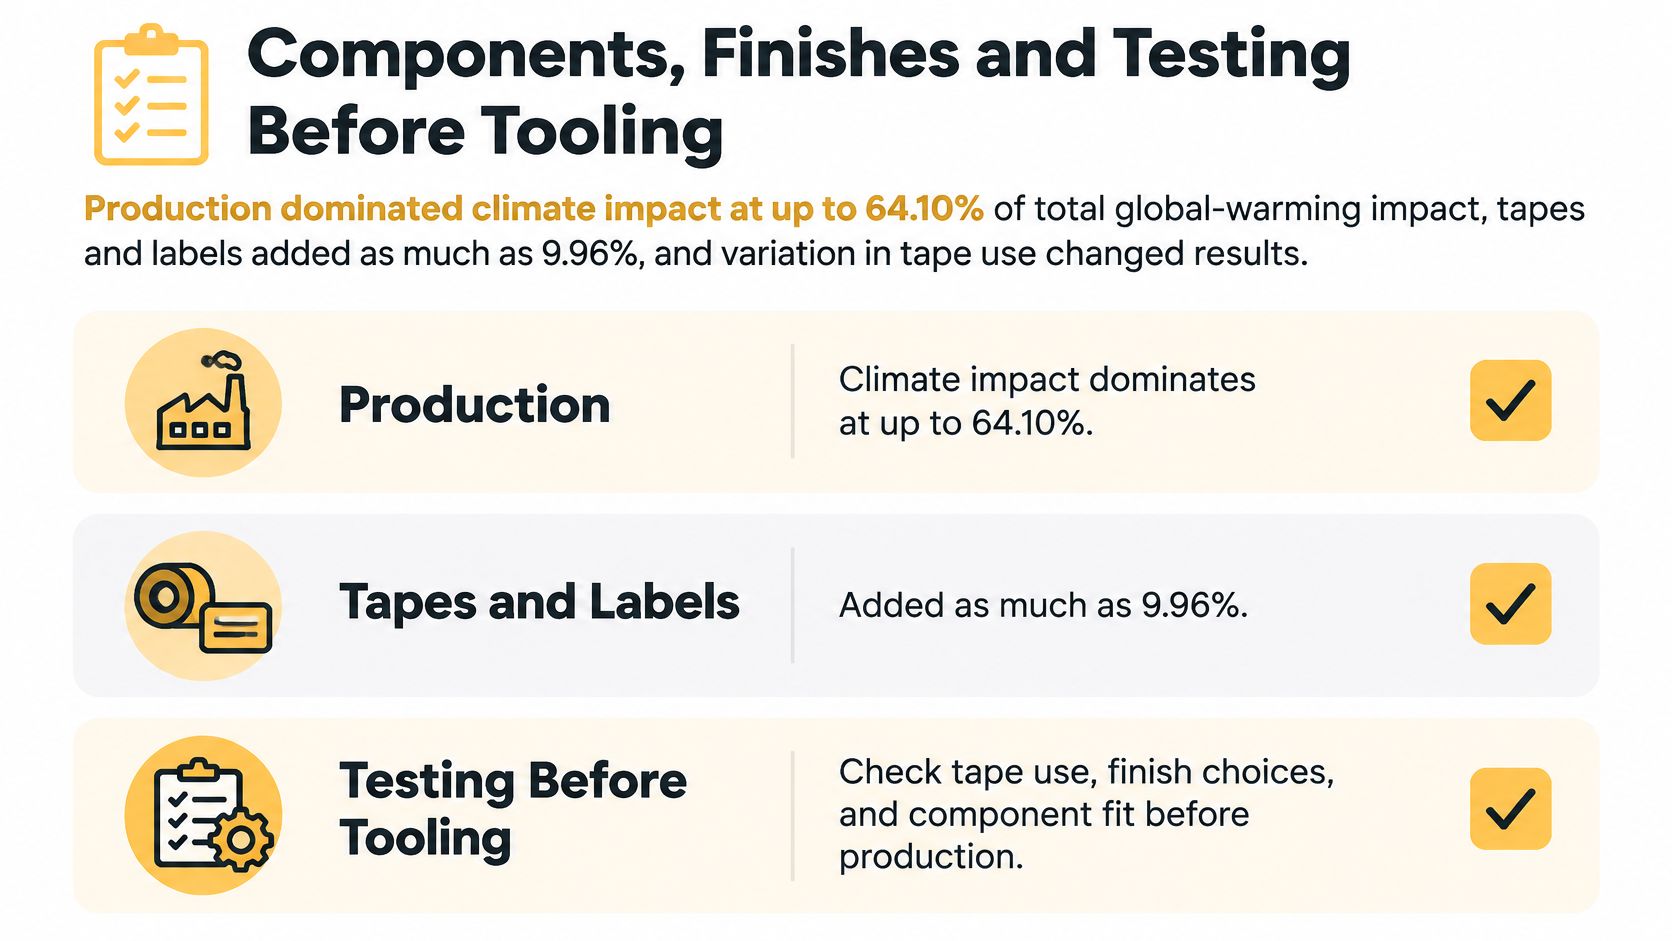
In an e-commerce packaging life-cycle assessment, production contributed up to 64.10% of total global-warming impact, while tapes and labels increased climate impact by as much as 9.96%, according to the published packaging assessment. Those findings make secondary components part of the engineering decision, not an afterthought once the box looks finished.
A ribbon needs an attachment method. A window needs a film and adhesive. An insert occupies space and changes how the product moves inside the pack. List these parts explicitly so their protection, assembly and disposal requirements can be evaluated.
Give every extra component a specification
Set a maximum package-to-product volume, an auxiliary-material mass allowance per shipped unit and an adhesive-coverage limit. The project team should establish those limits from the product and test requirements, not borrow arbitrary targets from another pack.
Require components to be either compatible with the intended recovery stream or readily separable. For tape, specify width and application length rather than leaving packers to add strips until the closure feels secure.
Finishes have physical consequences. Embossing changes local surface geometry; coatings and foil can affect folding, surface behaviour and recycling acceptance. Magnetic closures and permanent windows add materials that customers may struggle to separate.
We review closures, inserts, assembly steps and how the finished packs sit inside a shipping carton. We also keep quantity, product identity and other approved information readable. A reflective finish isn't successful if a customer has to tilt the pack repeatedly to identify the variant.
A decorative feature should have a defined purpose, an assembly method and an end-of-life decision.
Test the finished construction
- Build the decorated prototype. Include the actual insert arrangement, closure, label placement and proposed surface treatments. Identify any substitute materials so nobody mistakes a visual sample for a production-equivalent test unit.
- Run compression, vibration and drop tests appropriate to the intended distribution route. Record damage to the product as well as scuffing, opening and deformation of the pack.
- Check closure fit and seal strength. Look for sleeve drag, lid interference, torn folds and movement after handling.
- Reconcile the component list with recycling requirements. Confirm that the separation instructions match what a customer can reasonably remove.
We review a physical prototype before committing to the final structure. Where production tooling is needed to reproduce a finish accurately, approve the preliminary design first and validate the production-equivalent result before releasing the full run.
The decorated pack must pass, not just the bare board.
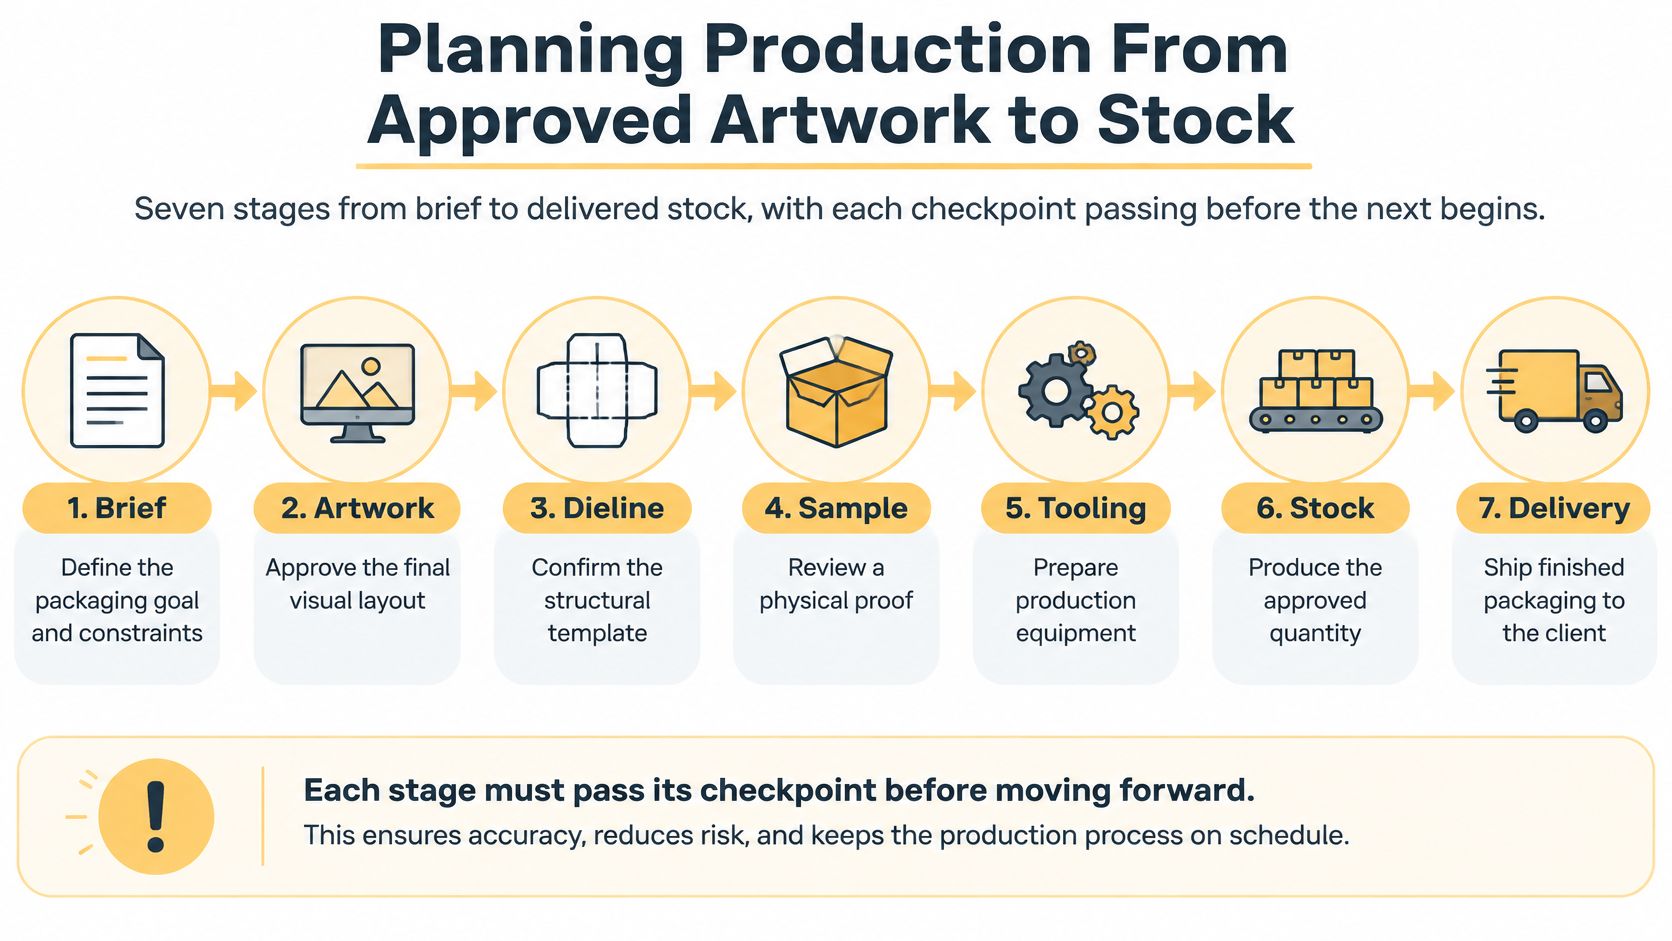
Planning Production From Approved Artwork to Stock
| Stage | Output | Checkpoint before moving on |
|---|---|---|
| Brief | Dimensions, components, quantities and approval steps | Artwork owner and sign-off dates named |
| Artwork adaptation | Print-ready files adapted to the print process | Resolution, format and composition confirmed |
| Structural mockup | 3D mockup and die-line | Fit, closure and tolerances reviewed |
| Physical prototype | Assembled proof in the real format | Compression, drop and closure tested |
| Proofs and press check | Colour proof and press sign-off | Colour consistent against the approved proof |
| Production run | Printed and finished packs | Quality checked against the approved proof |
| Delivered stock | Packed and shipped stock | Quantities and delivery date confirmed |
The brief establishes what the team is making and who can approve it. Include dimensions, components, quantities, artwork responsibilities and approval steps before requesting a production commitment. A missing insert or unresolved closure changes more than the illustration.
Existing artwork can be adapted when its resolution, format and composition suit the print process. Keep editable source files available, supply the required fonts or approved outlines, and distinguish approved product copy from temporary layout text.
Resolve print and structural questions together
Choose the print route early, whether flexographic, rotogravure, digital or another short-run approach. Compare setup requirements, substrate compatibility and the work needed to produce the intended variants. Specify foil, embossing and colour-proof requirements at the same time, rather than adding them after the artwork has been costed.
Artwork and structure need coordinated development. Designers can establish a visual direction before the die-line is final, but they shouldn't release production files until cut lines, folds, glue areas and print exclusions are confirmed.
We recommend developing a representative assembled proof before extending the system to smaller containers, longer statements and different physical formats. That proof should reveal whether text crosses a fold, the sleeve catches a lid, or an insert prevents the carton from closing.
Work backwards from availability, not dispatch
The meaningful deadline is when the fulfilment team needs usable packaging, not when a supplier expects to ship it. Work backwards through receiving, transport, quality checks, printing, finishing, tooling, sampling and approvals.
Ask the team to confirm these handoffs:
- Before tooling: Structure, artwork placement and finish requirements are authorised.
- Before the run: Production files, colour reference and component specifications are signed off.
- Before dispatch: Pack counts, shipping configuration, destination and receiving arrangements are confirmed.
Assign a named contact to carry decisions from approved artwork through delivered stock. Our concept-to-production process happens under one roof, which allows design, structural and production decisions to be coordinated rather than passed between unrelated vendors.
Approval discipline: A signed proof is a production reference. Keep the approved version identifiable and remove superseded files from the release folder.
The approval gate before the production run is the last practical opportunity to change the design without scrapping finished inventory. Changes aren't automatically free at that point, particularly once tooling exists, but releasing an unresolved design is the more expensive gamble.
Personalisation, Forecasts and Leftover Stock
U.S. consumers planned to spend an average of $890.49 per person on holiday gifts, food, decorations and other seasonal items in the cited 2025 National Retail Federation estimate, discussed by Sulapac. That describes a substantial but time-constrained buying occasion, not a guarantee that any particular seasonal packaging run will sell through.
More personalisation isn't always better. Names, messages and customer-specific graphics can make a gift feel considered, but they also create files to validate, versions to track and orders that must reach the correct recipient. The commercial question is whether the added relevance justifies that operational burden.
Challenge the version count
Before approving variable artwork, settle the difficult questions:
- Data freeze: When do names and messages stop changing, and who approves spelling and character limits?
- Fulfilment capacity: How many distinct packaging variants can the team identify, store and pick reliably?
- Forecast error: What happens if the best-selling product needs more packs while another variant remains untouched?
- Unused stock: Can remaining packaging serve another channel or occasion without misleading customers?
Keep the personal detail as close to order fulfilment as the workflow can reliably support. A separately printed message card may be easier to control than a customer-specific carton. A short-run label may suit a corporate order, provided the label stock, proofing and application have been approved.
Budget for flexibility rather than decoration alone
Interchangeable sleeves or inserts can limit the amount of inventory tied to a seasonal forecast. Compare the full cost of that flexibility, including printing, application labour, storage and separation. A removable layer isn't automatically cheaper if it requires difficult hand assembly.
The production brief should state proofing time, colour-consistency requirements, lead-time buffers and minimum order quantities. Confirm whether a repeat order can match the original appearance and whether the selected print route makes a small replenishment practical.
Our guidance is to state what a proposal includes and identify unresolved inputs without inventing outcomes. If the variable-data file isn't ready, label it as outstanding rather than promising an unconfirmed production date.
Set the contingency before launch: define a sell-through trigger for a reorder, a deadline after which seasonal replenishment no longer makes sense, and a fallback to the year-round pack. Personalisation should make the order more meaningful, not make the whole fulfilment plan dependent on perfect demand forecasts.
Prepare Your Holiday Packaging Brief Before Design Starts
A precise brief is the quickest route to a credible quote because it gives the team something definite to assess. Missing inputs force assumptions, and those assumptions can become rework once the actual product, quantity or delivery requirement arrives.
We treat dimensions, components, quantities, artwork responsibilities and approval steps as part of a credible packaging brief. You don't need to solve every technical question yourself, but you should distinguish confirmed requirements from decisions that still need development.
Give the team a usable starting point
- Product dimensions, weight and pack quantity. Include the filled product, the contents of each sales unit and the quantities required by variant. Supply sample products where available.
- Components and closures. List inserts, labels, seals and decorative parts. Mark each as fixed or separable, and identify any existing components that must be retained.
- Chosen format. State the preferred format and the alternative you're willing to consider. Explain the distribution requirement behind that choice.
- Seasonal layer and end date. Identify what makes the pack festive, when that presentation stops being appropriate and which brand elements must remain unchanged.
- Disposal requirements by market. Record the collection route being designed for and the instructions the pack needs. Flag claims that still require validation.
- Production and delivery dates. Work backwards from the in-market requirement, allowing for receiving and a realistic buffer. Identify any immovable campaign or retailer dates.
- Approval ownership. Name the artwork owner, structural approver and production sign-off contact. Make clear who can authorise a change.
Make uncertainty visible
Attach the current artwork, product photographs and any existing die-lines, with their approval status clearly labelled. If quantities or product dimensions remain provisional, say so. A transparent open question is more useful than a confident-looking guess.
Mylarmen invites brands with a project in mind to talk through their packaging brief. Our concept-to-production approach suits teams that want a coordinated contact across the work rather than separate conversations that leave decisions unresolved.
Choose your format and seasonal layer this week, gather the product inputs, then send the brief. Those decisions give the design team a practical starting point without locking you into untested decoration.
Mylarmen brings branding, structural packaging design and production together to develop customised holiday packaging around real product and delivery requirements. Visit Mylarmen to discuss your brief, bringing your product measurements, preferred format, expected quantities and in-market date.