

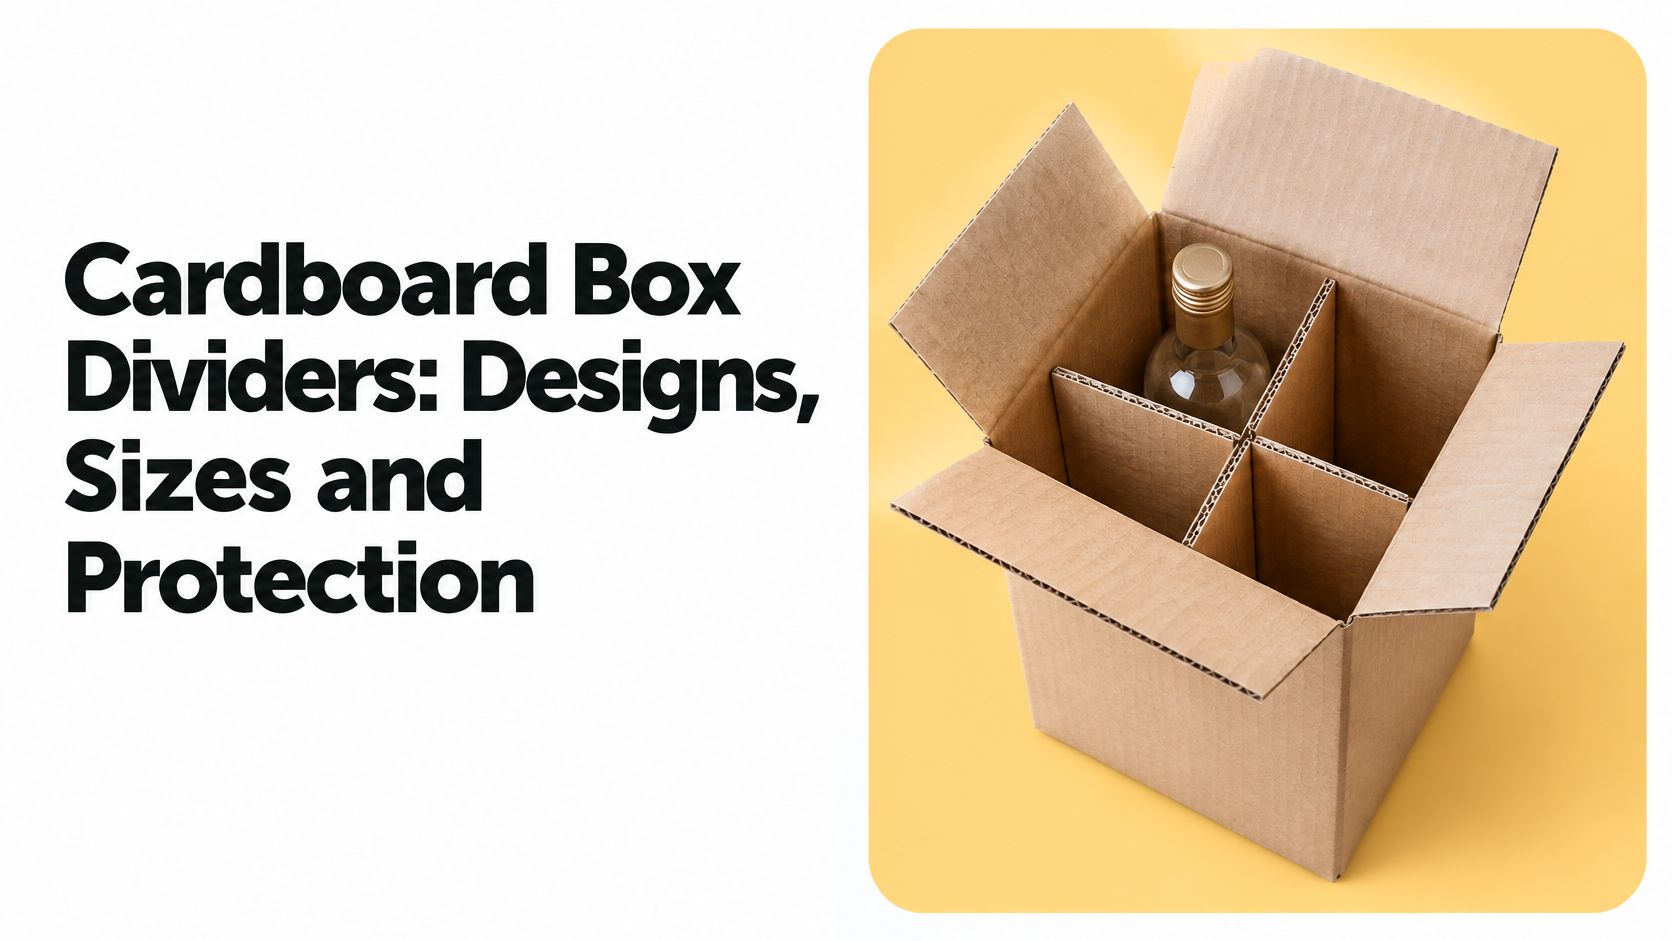
You open a gift shipper and find broken bottle necks, even though the carton looks intact. The bottles had room to lean, knock together, and turn an ordinary bump into glass-on-glass impact. Before ordering thicker cardboard, check the space between the products and what's holding them in place.
Table of Contents
- What Cardboard Box Dividers Do Inside a Carton
- Divider Designs and Cell Layouts to Match the Product
- Flutes, Wall Types and Board That Carry the Load
- How Dividers Cut Transit Damage and How They Fail
- Bottle, Jar, Can and Irregular Product Examples
- When a Fiber Divider Can Be Recycled
- Lock the Divider Brief Before Tooling
What Cardboard Box Dividers Do Inside a Carton
Cardboard box dividers are slotted, folded, or die-cut paperboard inserts that create compartments inside an outer carton. Some arrive as flat strips that lock together. Others fold into a locating structure or sit above and below the product as shaped pads.
Think of the outer box as an apartment building and the divider as its interior walls. The building encloses everything, but the interior walls keep the occupants apart. A well-fitted partition can also pass some load into the surrounding structure, provided its edges, intersections, and carton contact points support that load.
What the insert actually does
A divider has distinct jobs, and they shouldn't be confused:
- Separate products: Keep glass, metal, labels, and decorated surfaces from contacting neighboring items.
- Restrict sideways movement: Hold each item near its intended position instead of letting it slide across the carton.
- Contribute structural support: Help distribute loads where the assembled design provides a suitable load path.
That last job isn't automatic. A loose grid floating inside a box behaves differently from an insert designed to bear against the carton walls.
Bench check: Ask what the divider is supposed to stop moving, and in which direction. An insert that only looks organized may not restrain the product where it needs support.
The familiar forms include lengthwise strips, cross partitions, half-height grids, and die-cut locating pads. Each changes where the product can move and where its weight reaches the board.
These aren't new packaging ideas. Corrugated material developed into protection for glass and lamp chimneys before becoming a mass-produced shipping material; the Safety Cutters history of boxes reports that the United States manufactured approximately 386 billion square feet of corrugated material in 2017. Dividers apply that established material system to the space inside the carton, where product shape matters more than appearance.
Divider Designs and Cell Layouts to Match the Product
| Design | Best for | Typical layout | Protection job |
|---|---|---|---|
| Lengthwise slotted strips | Single row of bottles or jars | Illustrative arrangements include one by four or one by six | Stops neighbors in one file from touching |
| Cross partition | Wine, spirits, sauces, cosmetics | Illustrative grids include two by three, three by four, or four by six | Full separation around each cell |
| Half-height partition | Cans and squat jars | Grid walls near the product's mid-height | Blocks sliding while using less board |
| Full-height cell | Glass and tall fragile cylinders | Cell fitted from the base toward the shoulder | Limits tipping and lateral travel |
| Die-cut pad with apertures | Necked, square, or irregular containers | Custom holes matched to the supported shape | Locates shapes a square grid cannot hold |
| Angled or tight round cell | Dense round bottles | Diagonal or hexagonal-style compartments | Distributes contact through intersecting walls |
Choose the row by product shape and movement, then compare the layout with how the goods already sit in the master carton. The table's grid counts are illustrative arrangements, not standard dimensions or proof that a particular bottle fits.
A cross partition uses intersecting sets of slotted strips, rather like a tic-tac-toe grid. Parallel strips create rows, and the crossing strips divide those rows into individual cells. For a single file, transverse separators may be enough; use the assembled drawing rather than relying on a supplier's label for the strip direction.
A wine grid and a can pack need different walls
Say you're developing a twelve-bottle wine shipper. A hypothetical three-by-four arrangement gives each bottle its own compartment, but bottle count alone doesn't establish cell size. Measure the widest body, shoulders, closure, and any protective wrapping before drawing the grid.
Tall glass may need walls extending toward the shoulder to restrain leaning. A low wall around the base can leave the upper bottle free to swing into its neighbor, especially where the shoulder widens beyond the body.
Now consider a squat can pack. A half-height partition may provide the required side restraint without enclosing the whole can. Full-height walls can obstruct loading and consume board without improving the particular movement you're trying to control.
For presentation-led packs, the structure still needs to work beneath the finish. The relationship between appearance and construction matters in high-end packaging boxes, particularly when a decorative insert must also hold a heavy or fragile product.
Set clearance from the real product
Use a ruler or caliper to measure the largest supplied sample, not just the nominal container drawing. Include seams, label overlaps, caps, and sleeves wherever they affect fit.
Start with small hand-loading clearance, then adjust a physical sample. The product should enter without scraping or forcing the walls outward, but it shouldn't rock freely enough to hammer the cell.
- Check body restraint: Gently move the loaded sample and watch whether the product tilts above its support.
- Check assembly access: Confirm that packers can open the grid and load it without folding walls underneath the product.
- Check closure: Close the actual carton. A bowed lid may indicate excess insert height, interference with the product, or inadequate headspace.
A die-cut aperture can hold a neck or shaped component more accurately than a roomy square cell. It must still support the product without concentrating pressure on a fragile edge. Once that geometry works, board selection becomes a meaningful decision.
Flutes, Wall Types and Board That Carry the Load
A divider is an engineered interior component, not a convenient piece of scrap board. ASTM D4727/D4727M includes corrugated and solid-fiberboard cut shapes such as partitions, pads, sleeves, liners, and die-cut sheets; the qualification guidance uses an edge-crush specimen approximately 100 mm long by 25 mm high, under controlled conditions near 23 °C and 50% relative humidity.
The flute is the wavy layer between the liners. Its profile affects board thickness, bending behavior, and how readily a converter can score or slot the sheet. Wall construction describes how those liners and fluted layers are combined.
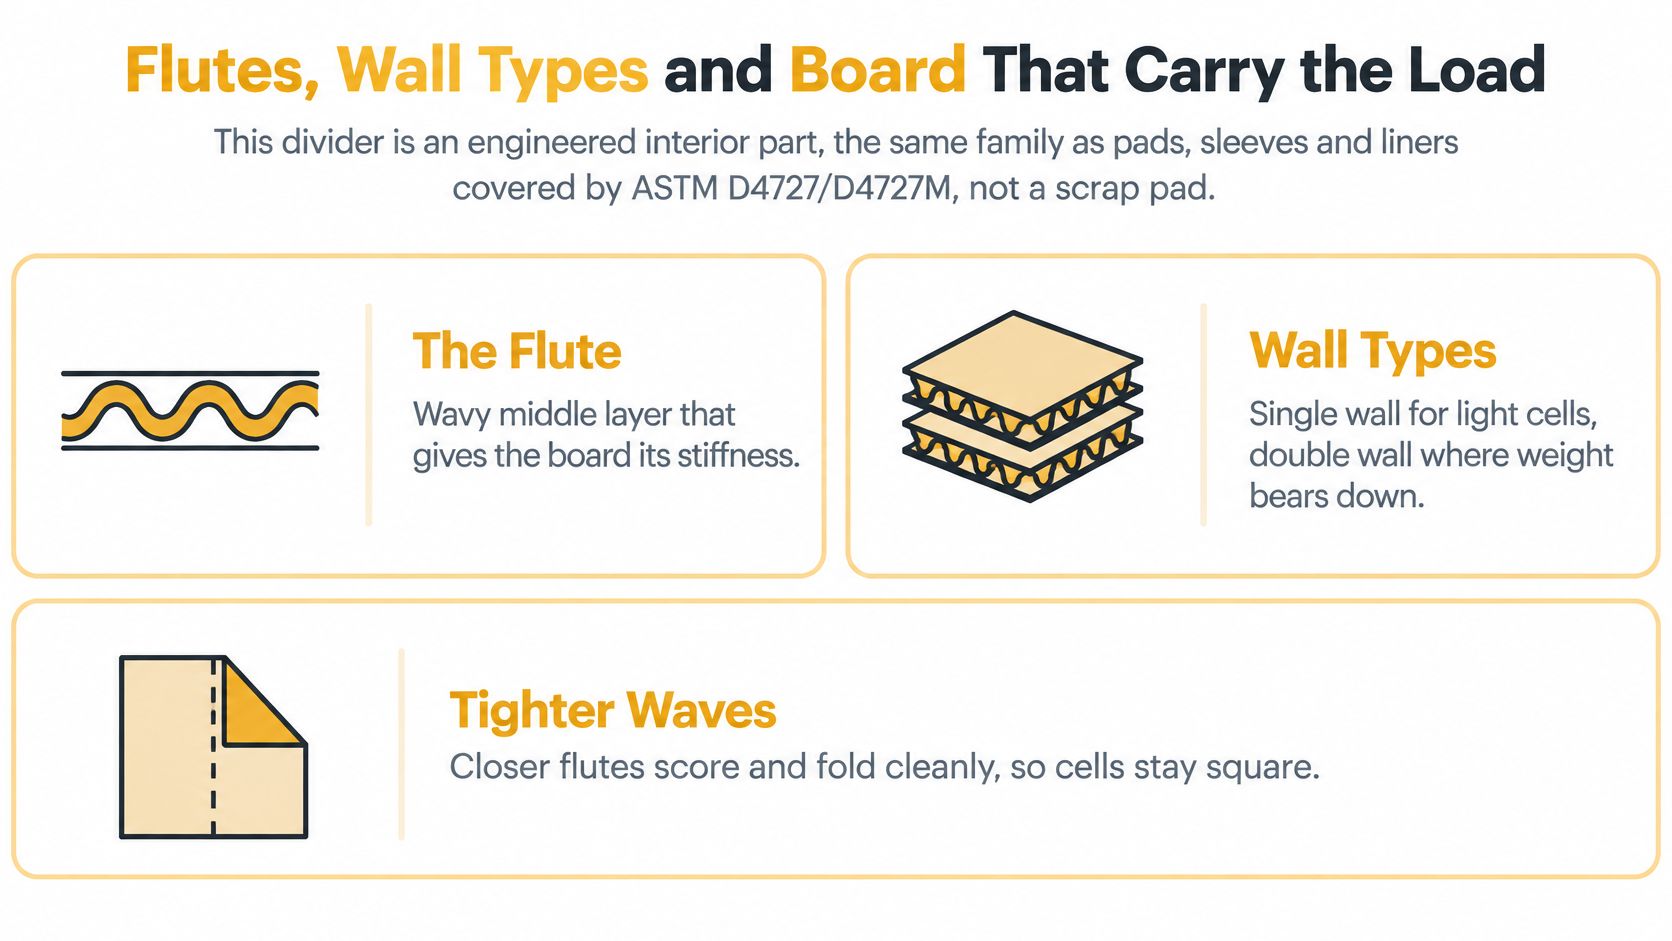
Flute choices for cardboard box dividers
| Flute or wall | Typical divider use | Trade-off |
|---|---|---|
| E flute | Small vials and light retail inserts | Clean slots and compact cells, with modest crush capacity |
| B flute | Bottle, jar, and cosmetic partitions | Useful starting point for balancing slot fit and strength |
| C flute | Taller glass cells and heavier jars | Greater crush space, but thicker slots and more occupied volume |
| BC double wall | Heavy glass or stacked master packs | Potential for greater edge-crush capacity, with added weight and space |
Treat these as starting choices, not strength rankings independent of paper grade. Liner properties, moisture, converting quality, and the assembled design can change the result. Taller flutes provide more space to deform, but that doesn't establish how much shock a finished pack will absorb.
B flute is a practical prototype starting point for many bottle partitions. E flute helps where compactness and clean detail matter. Consider C flute or BC double wall when the loading justifies the extra thickness, rather than treating them as automatic upgrades.
For the outer shipping case, Storage & Removal Boxes Ltd.’s Double Walled Cardboard Boxes provides a useful reference for that construction category. The carton and its insert still need to be specified together.
Test the load path, not just the sheet
Edge-crush testing, or ECT, measures a controlled board specimen. It doesn't tell you whether a loose slot will disengage or a long unsupported partition wall will buckle.
Orient the flutes to suit the load you want the divider to carry, commonly vertically when stacking support is intended. Have the laboratory document specimen orientation and conditioning so comparisons remain meaningful.
A stronger sheet can't repair a joint that doesn't stay locked.
Qualify the assembled grid with its actual slots, contact points, and unsupported spans. Moisture can soften the fiber network, so a rigid office sample may behave differently in humid distribution. Correct cell fit first; extra caliper in the wrong place adds material and shipping volume.
How Dividers Cut Transit Damage and How They Fail
Separation and cushioning are different functions. A divider is a fence between products. It stops a bottle from becoming a hammer, but it isn't necessarily a mattress beneath that bottle.
Geometry can nevertheless change the way a partition transmits impact and vibration. In a comparative test using ASTM D1596-97 methodology, a cross-shaped corrugated partition produced 10.7% lower peak vibration acceleration and tolerated 9.6% higher vibration than a square partition, according to the study published through the Academy of Sciences Malaysia. Those are study benchmarks, not expected improvements for every shipping pack.
The distinction is useful when inspecting a failed pack.
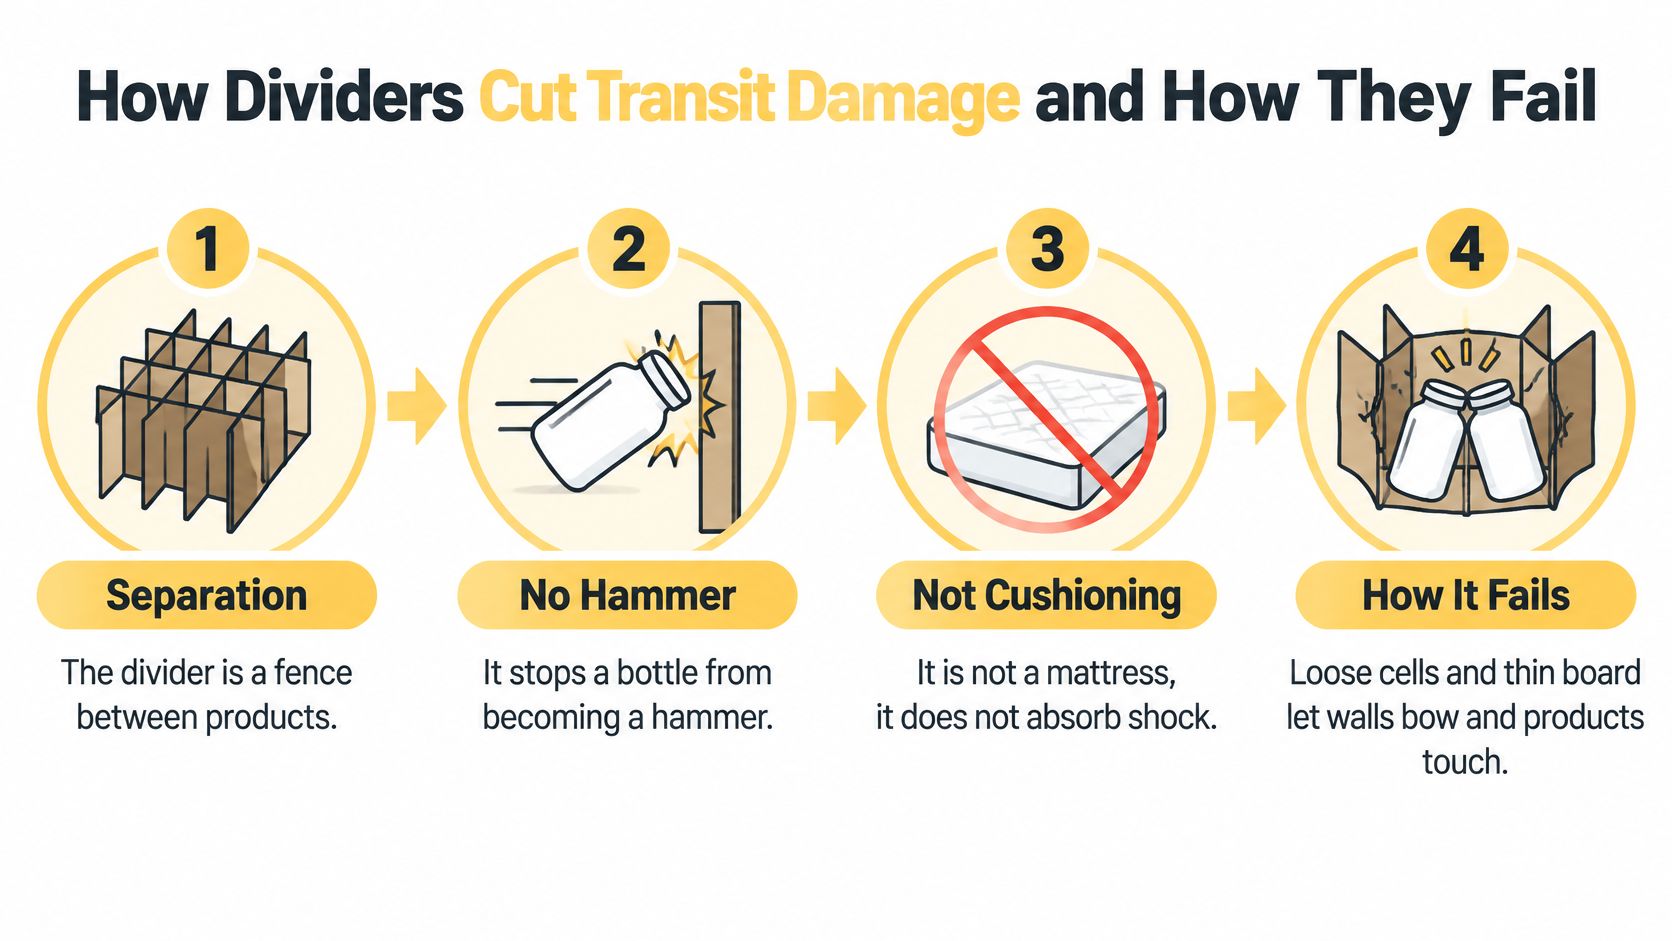
Validate the filled assembly
Use a deliberate sequence rather than changing several variables after every damaged sample.
- Establish restraint. Size the cells so products can't move into adjacent items. Check upper-body movement as well as base fit.
- Build the pack. Assemble the partition inside the intended carton with actual products at shipping fill weight.
- Test the shipping hazards. Run appropriate drop, vibration, and compression tests on the closed pack. A bare board sample can't reproduce those interactions.
- Include humidity conditioning. Compare conditioned samples with dry ones where the distribution route includes damp storage or transport.
- Inspect the joints. Examine slot shoulders and crossings for crushing, tearing, or disengagement before assuming that the whole board grade is inadequate.
Keep the failed sample intact long enough to identify the first likely failure point. A collapsed crossing and a fractured bottle base call for different changes.
Divider failures in transit and the change that fixes them
| What you see | Usual cause | Change to make |
|---|---|---|
| Neighbors touch or chip | Excess cell clearance allows travel | Reduce side clearance while preserving hand-loading access |
| Slots pop apart | Slot width or engagement doesn't suit the board | Match the slot to measured caliper and revise the interlock |
| Crushed crossings | Long unsupported span or inadequate board stiffness | Shorten the span or add a cross wall |
| Carton bulges | Divider interferes with inside height or closure | Trim to the usable inside depth with closure clearance |
| Walls go soft in humid lanes | Qualification relied on dry samples | Condition samples and reconsider the liner specification |
| Breakage with a thick divider | Separation works, but shock protection is insufficient | Add suitable cushioning or retune geometry, then retest |
Don't deepen slots blindly: removing too much material can weaken the remaining wall. Ask the converter to balance engagement, assembly force, and the material left around the joint.
Overdesign has a cost as well. An unnecessarily bulky partition adds fiber and may require a larger carton; an inadequate partition creates broken products, returns, and replacement shipments. The useful design is the lightest practical assembly that passes the defined shipping conditions, not the thickest insert available.
Bottle, Jar, Can and Irregular Product Examples
The same grid can look suitable for very different products while supporting them in the wrong places. Start with where each item carries its weight and where contact would cause damage.
This mixed-product view helps make those contact points visible.

Glass bottles and liquid-filled jars
Wine and spirits: For a hypothetical twelve-bottle case, begin with a three-by-four full-height cross partition fitted around the bottle bodies. You're designing out glass-to-glass impact and excessive leaning, not merely assigning each bottle an address. A filled-pack drop test that produces shoulder or neck contact would disprove the proposed layout.
Where cases stack, orient the board for the intended load path and check the complete carton under compression. Don't assume the bottle closure should carry load from the lid.
Sauces and other liquid glass: A similar grid may work, but inspect the cap, jar shoulder, and carton corners. A leaning jar can concentrate its weight on a slot shoulder, while a corner jar may have a different surrounding structure from a central jar. A conditioned vibration test can expose progressive leaning, abrasion, and joint wear that aren't obvious during hand loading.
Check closures and product containment separately. A paperboard partition isn't a leak barrier, and spilled contents can change the behavior of the rest of the pack.
Cans, tins, and awkward shapes
Cans and tins: Try half-height walls where the main problem is sideways sliding or rolling. The target failure is movement that damages neighboring surfaces or lets the contents rearrange. Vibration testing should show whether the cans remain located or climb out of the low cells.
Kits, tubes, and necked bottles: Use a die-cut locating pad or a pad-and-partition combination where a square grid leaves unsupported gaps. Support a heavy component near its bearing surface instead of letting it punch the middle of a long wall. A drop test that shifts the component out of its locator shows that the aperture or support arrangement needs revision.
For another view of divider construction and handling, watch the demonstration below.
The USDA Forest Service paper on corrugated fiberboard inner packaging describes blocking, stacking support, and cushioning applications, while noting limited experimental information, particularly for flat pads and partitions. That makes product-specific qualification important: a fragile vial, a heavy jar, and an irregular kit shouldn't inherit approval just because their inserts use similar board.
Write the actual product and its likely failure into the specification, not just the cell count.
When a Fiber Divider Can Be Recycled
Fiber-based doesn't automatically mean recyclable. An uncoated paperboard partition and a foam-backed, laminated insert may look similar from above, yet require different disposal decisions.
The wider corrugated system provides a useful baseline. Gaugius's corrugation industry statistics report that European corrugated packaging averaged 88% recycled content in 2024, while the United States recycled more than 33 million short tons of cardboard in 2024. Those figures describe broad material systems, not the recoverability of an individual divider.
Check the material and its condition
Compatible, uncoated paperboard can generally enter the carton's fiber-recovery stream when it remains clean and acceptable under local collection rules. Food, oil, chemicals, plastic film, metal parts, and excessive adhesive can complicate that route.
Use the distinction below as a screening tool, not a substitute for your local recycler's acceptance criteria.
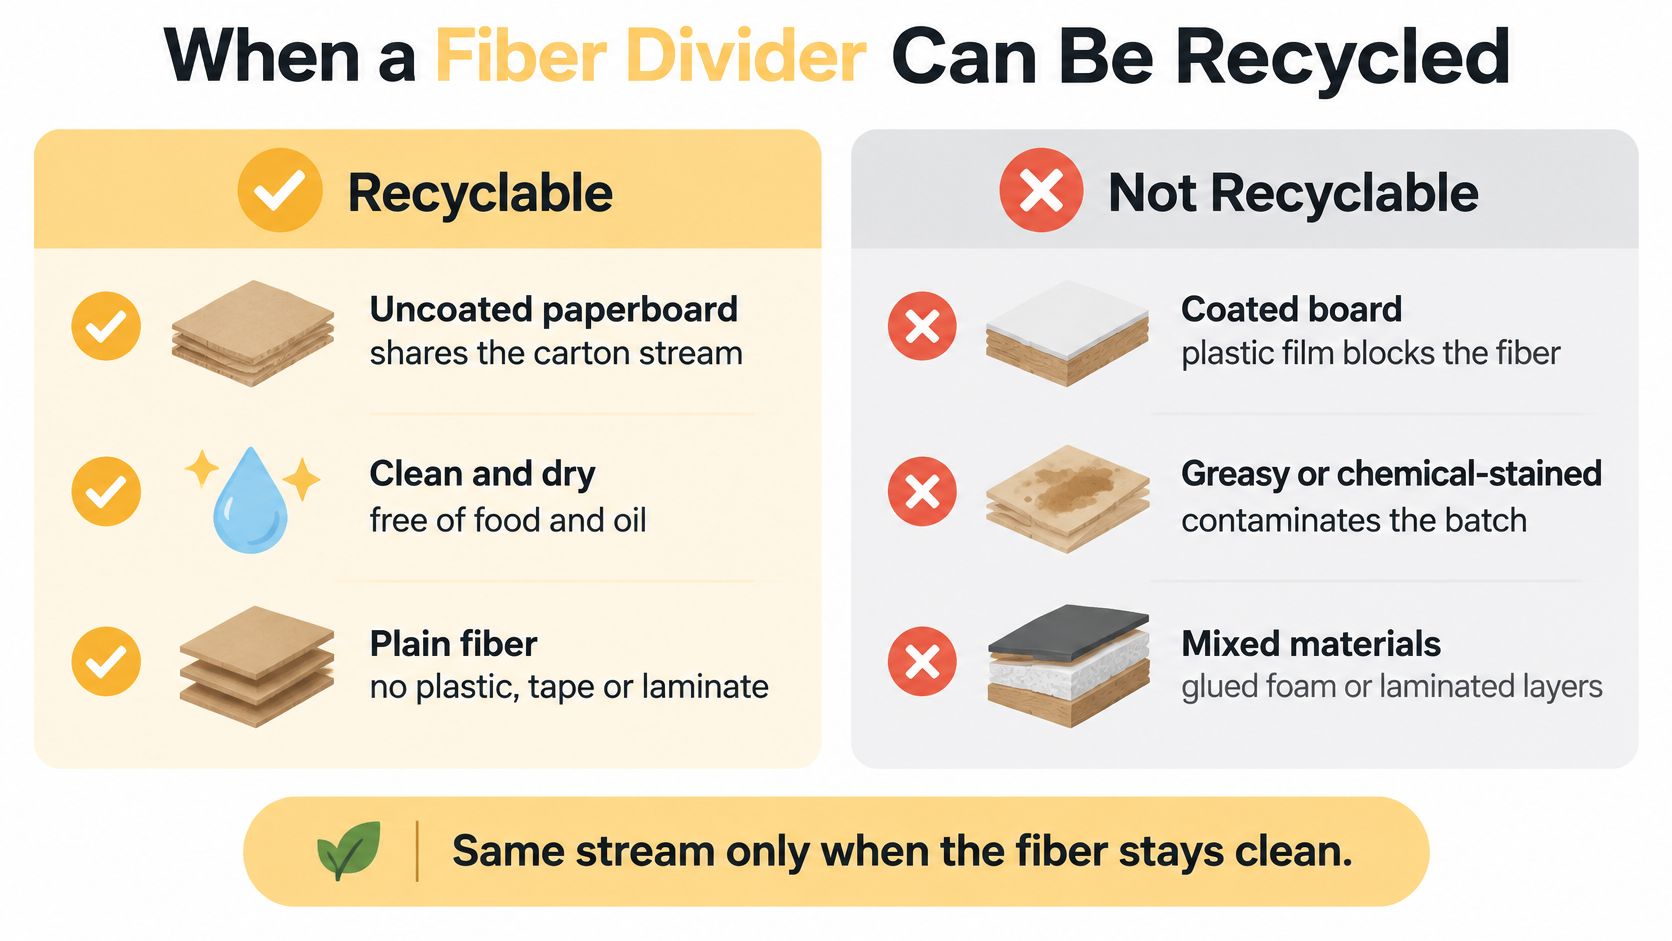
Wet-strength treatments, wax, laminates, and glued foam need specific scrutiny. Some collection and processing systems may accept particular treated papers; others won't. Don't convert that uncertainty into an unconditional recycling claim.
If product residue has soaked the divider but the carton remains clean, remove the affected insert before assessing the carton for recycling. If both are contaminated, separating them doesn't make either clean.
Disposal rule: Describe the actual material and the local route available to it, rather than calling the whole pack eco-friendly.
Design for separation and credible instructions
The European Commission's packaging waste guidance identifies paper and cardboard packaging recycling targets of 75% for 2025, rising to a target of 85% by 2030. These are system-level targets, not permission to label every paper insert universally recyclable.
A useful eco-friendly packaging assessment considers what happens after use, including whether people can separate the components.
- Avoid unnecessary coatings: Don't add a plastic layer when untreated board can meet the requirement.
- Keep bonding proportionate: Use only the adhesive needed to maintain the structure.
- Make removal obvious: Let users lift out the partition without tearing apart unrelated components.
- Write market-specific instructions: Distinguish the clean carton, treated insert, and any non-paper parts.
Protection still matters. Removing a treatment that the product needs can cause failures, so evaluate material changes against both shipping performance and the intended recovery system.
Lock the Divider Brief Before Tooling
A useful divider specification starts with the product and the packing operation, not the artwork. If the dimensions, loading method, or damage target remain unresolved, a finished dieline only makes those uncertainties harder to change.
Build a one-page structural brief that a packer, converter, and test laboratory can all understand. Include physical samples where drawings don't capture the shape accurately.
A checklist you can copy
- Product envelope: Record length, width, total height, widest diameter where relevant, and filled weight. Include caps, labels, sleeves, and other projections.
- Physical samples: Supply representative products, especially for tapered, flexible, necked, or irregular shapes.
- Pack arrangement: State the count, orientation, cell layout, and whether products share a common size.
- Insert construction: Identify the proposed board, flute direction, wall height, locating pads, and interlocking features.
- Carton interface: Record usable inside dimensions and any space reserved for pads, closures, or other protection.
- Filling method: Explain whether packers load by hand or equipment, and which components enter the carton first.
- Damage target: Name the failure to prevent, such as shoulder chips, label scuffing, tipping, or a heavy component shifting.
- Acceptance conditions: Define the transport tests and the condition the product and pack must retain afterward.
A pass mark needs to be observable. Intact glass isn't enough if labels become unreadable, closures loosen, or the grid falls apart when the customer opens the box.
Approve the assembly before extending the range
Require a representative physical proof in the actual carton before committing the structure. Open the flat insert, engage the slots, load the products, close the carton, and check for interference or bulging. Then examine whether someone can unpack it without pulling neighboring items out of position.
At Mylarmen, we take product measurements, weight, and samples where available, and review a physical prototype before committing to the final structure. Our structural process considers closures, inserts, assembly steps, and how the pack sits inside its shipping carton.
The packaging design process should connect those structural decisions with the approved dieline and production checks. A polished rendering doesn't replace an assembled proof.
Only extend the approved arrangement to other sizes after checking their differences. A shorter container may escape a locating pad; a wider cap may obstruct loading even when the body fits. Send the actual case you intend to ship, with its constraints documented, rather than asking for a generic partition count.
Mylarmen offers structural packaging design that considers inserts, closures, assembly, and shipping-carton fit, with a physical prototype reviewed before the structure is finalized. Visit Mylarmen to discuss your divider brief, and bring product measurements, filled weights, and a representative sample so the conversation starts with the pack you need to protect.